
What to Do With Pressed Flowers: Creative Ideas for Crafts and Decor
If you are wondering what to do with pressed flowers, you have plenty of options beyond keeping them between the pages of an old book. You can turn them into framed botanical artwork, handmade greeting cards, bookmarks, resin keepsakes, decorative ornaments and thoughtful gifts.
The best things to do with pressed flowers depend on their size, condition and the materials you have available. Some projects need little more than paper and glue, while others require glass frames or specialist supplies.
Here are practical ways to use your pressed flowers, with tips to help you choose a project and protect delicate petals along the way.
For broader room-by-room inspiration, see our DIY home decor ideas guide. This article focuses specifically on ways to use flowers you have already pressed.
What Do You Do With Flowers After Pressing Them?
Once flowers are completely dry and flat, you can use them in artwork, paper crafts, jewelry, ornaments and decorative keepsakes. Start by checking that the petals feel dry and handle them gently before choosing a project.
If you enjoy making handmade accessories, our guide to DIY home accessories offers more ideas for creating decorative pieces around your home.
Before starting, sort your pressed flowers into three groups:
- Intact flowers: Suitable for framed artwork, bookmarks and greeting cards.
- Small petals and fragments: Useful for collages, decorative patterns and resin designs.
- Delicate or faded flowers: Better suited to enclosed displays or practice projects where appearance is less important.
This simple sorting step helps prevent a common mistake: choosing a project that requires large, intact blooms when you only have small petals available.
How to Choose the Right Pressed Flower Project
Not every pressed flower works equally well in every craft. A large, flat bloom can make an attractive centerpiece, while small leaves and petals are easier to arrange into patterns.
Use this comparison to find a project that matches your flowers, available supplies and crafting experience.
| Project | Main materials | Difficulty | Best suited for |
| Framed flower art | Glass frame, flowers, backing | Easy | Wall displays |
| Greeting cards | Cardstock, glue, flowers | Easy | Handmade gifts |
| Bookmarks | Cardstock, protective covering | Easy | Everyday use |
| Photo frames | Plain frame, adhesive, flowers | Easy | Personal keepsakes |
| Resin jewelry | Resin, molds, flowers | Advanced | Small keepsakes |
| Clay ornaments | Air-dry clay, flowers | Intermediate | Decorative gifts |
| Botanical collages | Paper, flowers, adhesive | Easy | Creative artwork |
| Glass displays | Glass panels, flowers, frame | Intermediate | Botanical arrangements |
| Gift decorations | Gift tags, paper, flowers | Easy | Personalized presents |
A useful starting rule: Choose a paper-based project if you are new to pressed-flower crafts. It requires fewer specialist materials and makes it easier to rearrange flowers before attaching them permanently.
If you rent your home, framed artwork, bookmarks and removable tabletop displays are practical because they do not require permanent changes to walls or furniture.
Creative Things to Do With Pressed Flowers
The most interesting projects let the natural shape and color of each flower remain visible. You do not need expensive materials for every design. Paper, glass, cardstock and a few carefully chosen decorative supplies can produce attractive results.
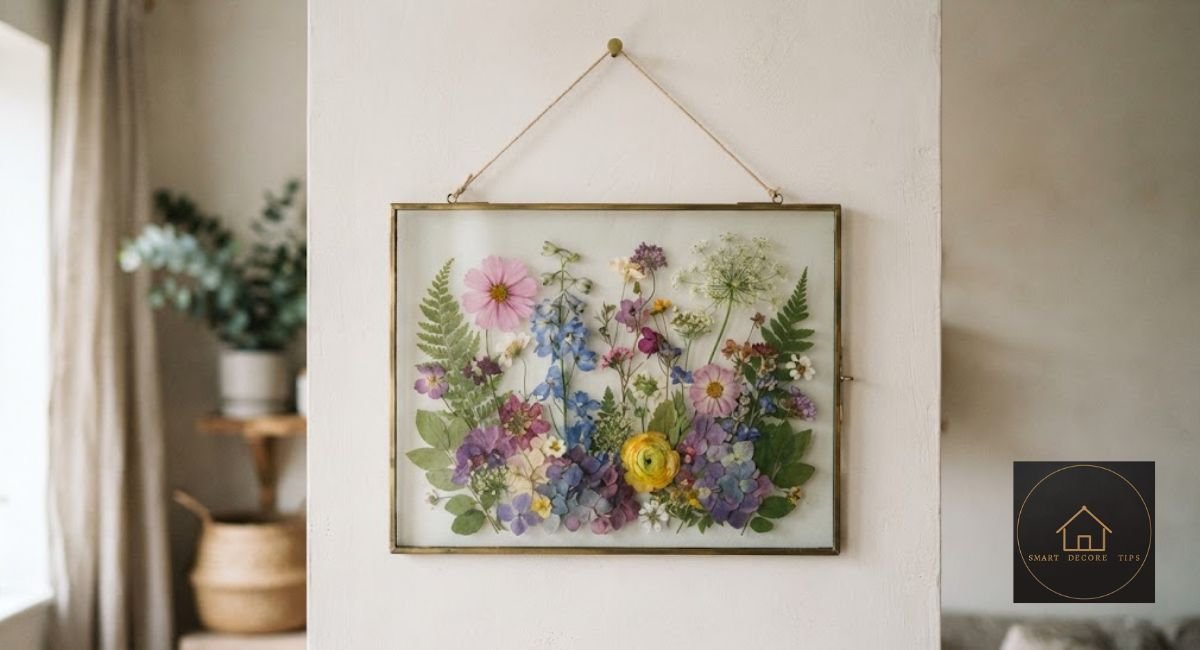
1. Make framed pressed-flower artwork

A floating frame is one of the simplest ways to display pressed flowers. It holds the flowers between two transparent panels, allowing light to pass through and making the delicate shapes visible.
What you need:
- A floating glass frame.
- Completely dried flowers.
- Tweezers.
- A clean, dry workspace.
How to arrange it:
- Place the flowers on a clean sheet of paper before moving them into the frame.
- Experiment with different arrangements until you find a balanced composition.
- Position larger flowers near the center or distribute them evenly.
- Add smaller leaves and stems to fill empty spaces.
- Carefully assemble the frame according to its instructions.
Design tip: A single flower with plenty of empty space can look more refined than a crowded arrangement. For a rental, choose a tabletop frame or use removable picture-hanging strips compatible with the wall surface and frame weight.
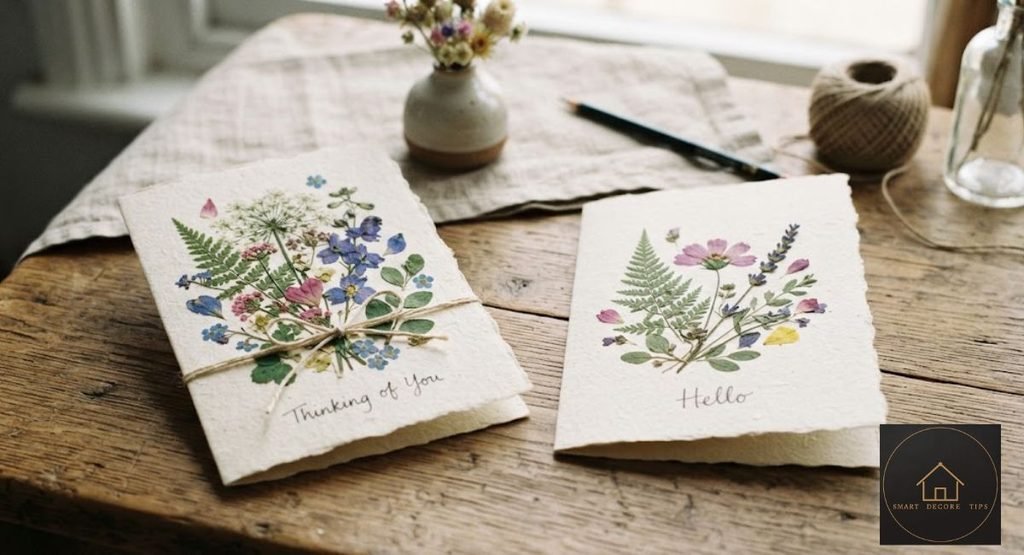
2. Decorate handmade greeting cards
Pressed flowers make handmade cards more personal. You can use them for birthdays, thank-you notes, anniversaries and other occasions.
What you need:
- Blank cardstock.
- Small pressed flowers.
- Fine-tip tweezers.
- Suitable craft glue.
- A small brush.
How to make one:
- Fold the cardstock into your preferred card shape.
- Arrange the flowers on the front without applying glue.
- Select one main flower and a few smaller pieces.
- Apply a small amount of suitable adhesive where needed.
- Position the flowers carefully and let the adhesive dry according to its instructions.
- Write your message inside once the decoration is secure.
Avoid using too much glue. Excess adhesive can seep around delicate petals and leave visible marks.
Small, flat flowers work particularly well for greeting cards because they are easier to arrange without creating bulky areas.
3. Create pressed-flower bookmarks
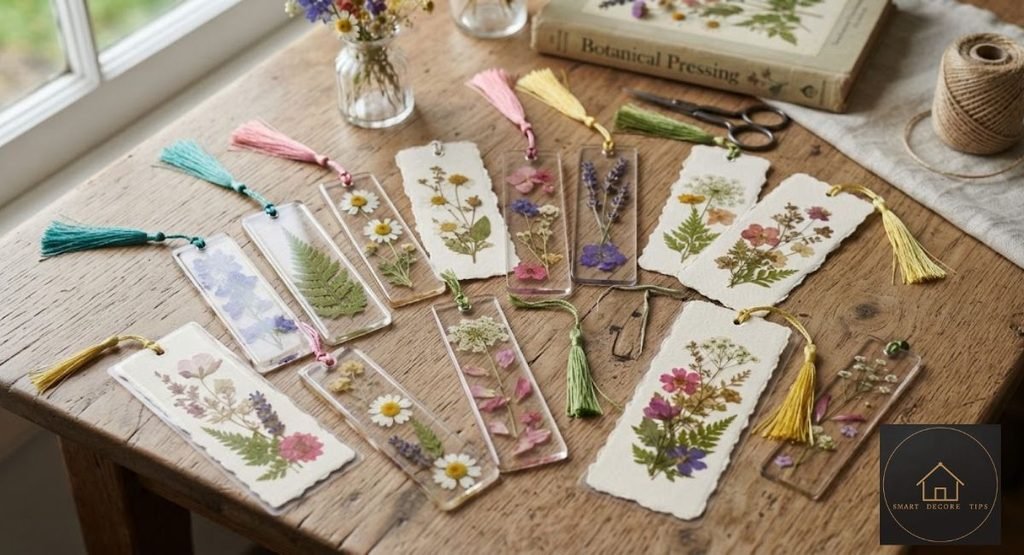
A pressed-flower bookmark is a useful way to turn small flowers and leftover petals into something practical.
Materials:
- Cardstock or suitable transparent bookmark material.
- Pressed flowers and leaves.
- Tweezers.
- Adhesive suitable for the chosen surface.
- A protective laminate or covering.
- Optional ribbon or tassel.
Steps:
- Cut the backing material into a bookmark shape.
- Arrange a few flowers along the length.
- Attach them using an appropriate adhesive.
- Allow the adhesive to dry fully.
- Add a protective covering suitable for the materials.
- Finish with a ribbon or tassel if desired.
The main trade-off is durability. An unprotected paper bookmark may bend or become stained with regular handling, while a laminated design offers more protection but can be difficult to repair if the flowers shift.
The Royal Horticultural Society’s botanical bookmark activity provides a practical example using card, PVA glue, tweezers and an optional protective layer.
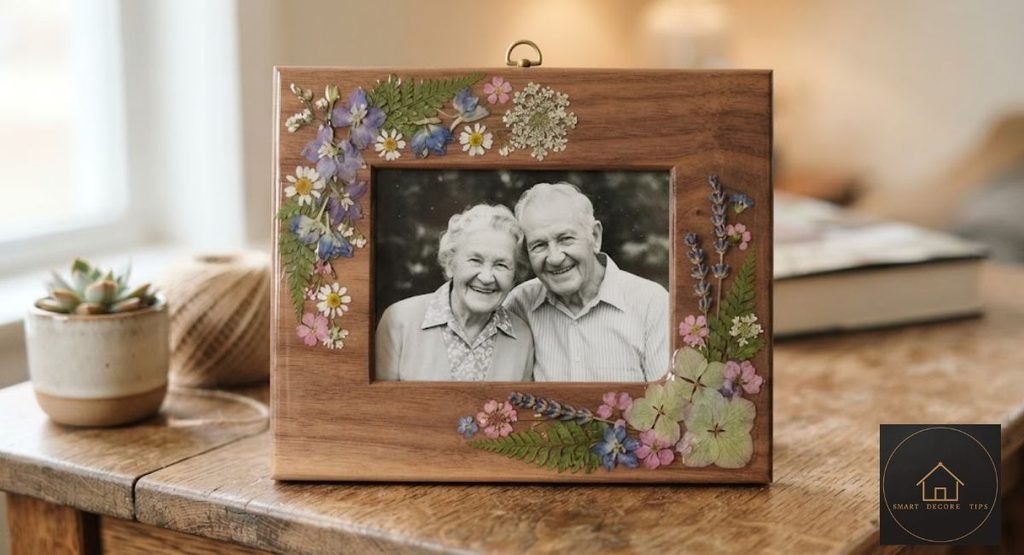
4. Decorate a photo frame
A plain photo frame can become a personal keepsake with a few carefully arranged pressed flowers. This works particularly well for wedding photographs, family pictures and vacation memories.
How to decorate it:
- Choose a simple wooden or cardstock frame.
- Arrange flowers around one or two corners.
- Keep the center clear so the photograph remains the main focus.
- Use an adhesive compatible with the frame’s surface.
- Allow everything to dry before inserting the photograph.
You can also decorate a separate removable mat rather than attaching flowers directly to an expensive frame. This makes it easier to change the design later.
5. Make pressed-flower resin keepsakes
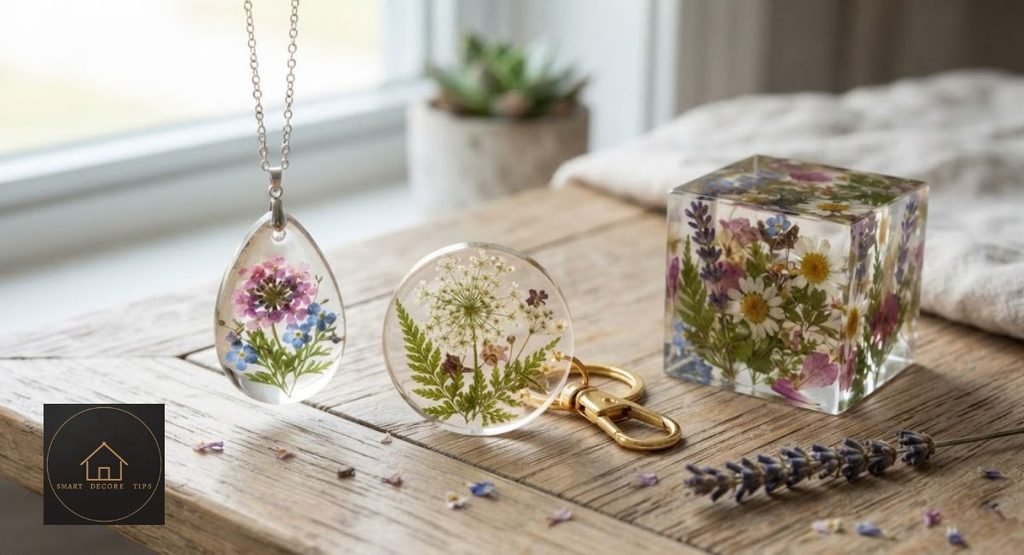
Resin projects can preserve the appearance of pressed flowers inside transparent decorative objects. Common examples include pendants, keychains, bookmarks and paperweights.
Materials may include:
- Craft resin compatible with the intended mold.
- Completely dry pressed flowers.
- Suitable silicone molds.
- Mixing and measuring equipment specified by the manufacturer.
- Protective equipment required by the resin instructions.
Basic process:
- Choose a mold that suits the size of your flowers.
- Plan the arrangement before mixing the resin.
- Prepare the resin according to its manufacturer’s instructions.
- Position the flowers carefully.
- Allow the resin to cure for the specified time.
- Remove the finished piece according to the product instructions.
Important: Resin is not a beginner-friendly material for everyone. Different products have different mixing, ventilation, skin-protection and curing requirements. Read the manufacturer’s safety information before starting. Never assume that a craft resin is suitable for food-contact items.
Choose a paper or framed project instead if you want a simpler craft without specialist materials.
6. Make pressed-flower clay ornaments
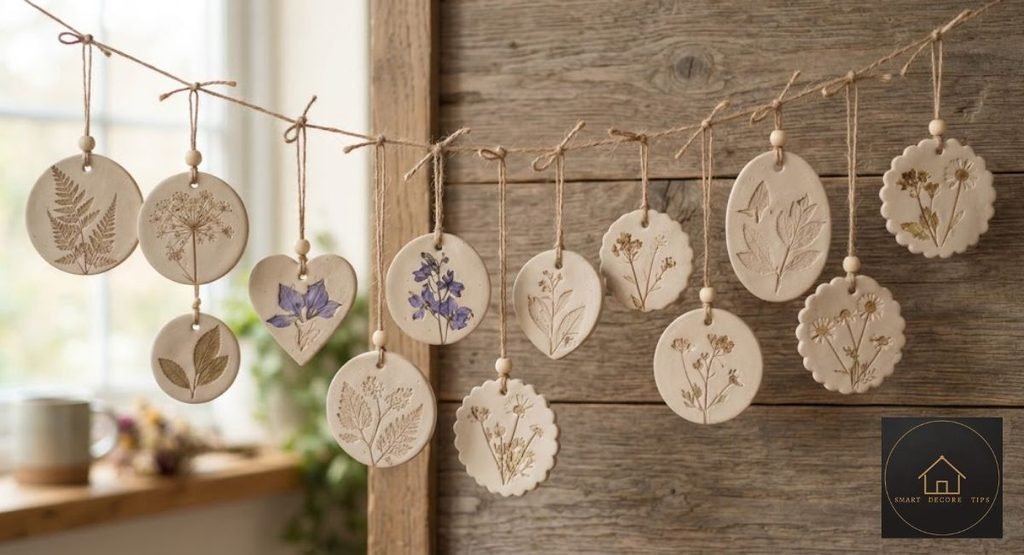
Air-dry clay offers another way to create decorative keepsakes. You can use pressed flowers to leave delicate impressions or incorporate selected botanical details into the finished design.
What you need:
- Air-dry clay.
- Rolling pin.
- Pressed flowers or leaves.
- Clay shaping tools.
- A suitable finish, if required by the clay manufacturer.
How it works:
- Knead and roll the clay according to its instructions.
- Arrange the flowers on the surface.
- Gently press them into the clay to create impressions.
- Carefully remove the flowers.
- Shape the clay into a small ornament or decorative plaque.
- Let it dry completely according to the manufacturer’s directions.
One useful distinction: You can use a flower to create an imprint without embedding the actual flower in the clay. This is often a better choice when you want a clean botanical pattern.
7. Design a botanical collage
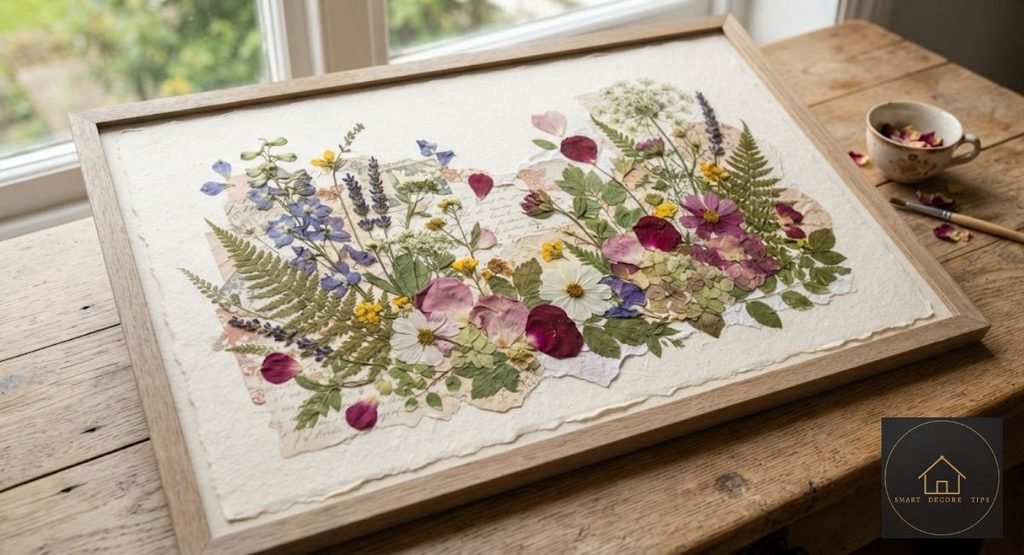
A botanical collage combines flowers, leaves and other paper elements to create a larger composition. Instead of arranging one flower in the center, you can build a scene or pattern using different shapes and colors.
Try these ideas:
- Arrange flowers into a simple wreath.
- Create a botanical border around a printed quote.
- Combine leaves and small petals into a garden-inspired composition.
- Make a seasonal arrangement using flowers in similar shades.
For a cohesive result, limit the design to a few related colors. Too many different flower shapes and colors can make a small collage feel crowded.
8. Create decorative glass displays
Glass displays allow you to enjoy the natural shapes of pressed flowers without hiding them behind a solid backing. You can use a double-glass frame, a tabletop display or a purpose-made botanical glass holder.
For a simple arrangement:
- Select flat, completely dry flowers.
- Arrange them on a clean surface.
- Position the flowers between compatible glass panels.
- Secure the panels using the frame’s intended fittings.
- Place the display in a dry location away from prolonged direct sunlight.
Do not use ordinary glass edges without suitable framing or protection. Choose a product designed to hold its glass panels securely.

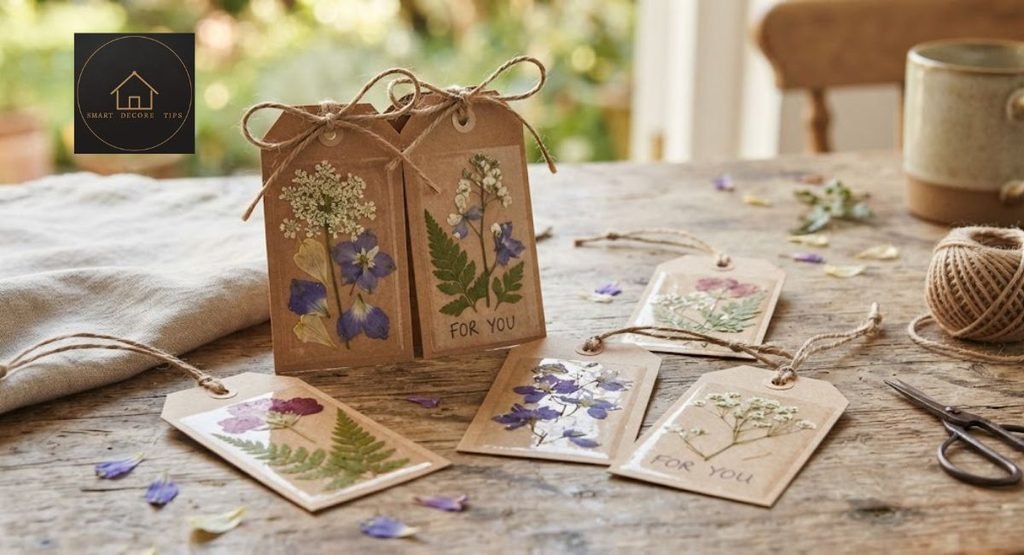
9. Personalize gift tags and gift packaging
Small pressed flowers can make simple gift packaging feel more thoughtful. Try attaching a small botanical arrangement to a gift tag, creating a decorative border or adding a pressed leaf to a handmade paper label.
A simple gift-tag idea:
- Cut a tag from kraft cardstock.
- Position one small flower near the bottom.
- Attach it with a suitable adhesive.
- Add a handwritten name or short message.
- Tie the tag to the gift with natural twine.
This is also a useful way to use small petals that are too delicate or irregular for framed artwork.
How to Display Pressed Flowers Around Your Home
The way you display pressed flowers matters as much as the craft itself. A beautiful arrangement can lose its appeal if it is exposed to constant sunlight, moisture or unnecessary handling.
| Room | Display idea | Practical consideration |
| Bedroom | Small framed arrangement above a dresser or on a shelf | Choose a shaded spot and a simple frame. |
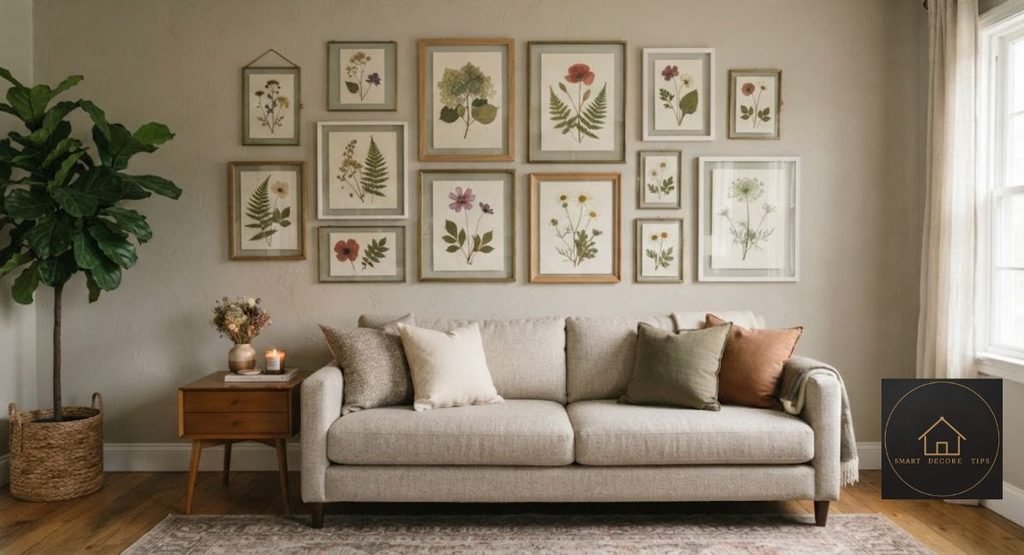
| Living room | Two or three botanical frames with consistent finishes | Leave space between frames so each arrangement remains visible. |
| Home office | Tabletop glass frame or botanical bookmark holder | Keep the display away from desk clutter and direct sun. |
| Bathroom | A framed display only if the area stays dry | Frequent humidity and condensation make this a less suitable location. |
A practical decorating rule: Avoid placing pressed-flower artwork directly beside a sunny window, above a radiator or in a damp area. A shaded interior wall or dry shelf is a sensible display location.
What Can I Put My Pressed Flowers In?
You can put pressed flowers in floating glass frames, scrapbooks, greeting cards, bookmarks, resin molds and suitable display containers. The right choice depends on whether you want to store loose flowers or turn them into a finished decoration.
| Container or material | Best use | Main consideration |
| Floating glass frame | Wall or tabletop artwork | Reduces direct handling. |
| Scrapbook | Personal collections | Use dry, suitable paper. |
| Greeting card | Handmade gifts | Avoid excessive adhesive. |
| Bookmark covering | Functional keepsakes | Choose a durable protective material. |
| Resin mold | Jewelry and keepsakes | Requires specialist preparation. |
| Flat storage box | Unused flowers | Keep flowers protected and dry. |
| Botanical display case | Decorative collections | Choose a secure, enclosed design. |
Storing flowers you are not using yet
You do not need to turn every pressed flower into a project immediately. Keep unused specimens between clean, dry sheets of paper, then place them in a flat, protective container. This is practical home-storage advice rather than a guarantee of archival preservation.
- Separate particularly fragile petals.
- Avoid stacking heavy objects directly on delicate flowers.
- Keep the storage container away from damp areas.
- Avoid unnecessary handling.
- Label different flower varieties if you plan to use them later.
What Do You Seal Pressed Flowers With?
The material you use depends on the surface and the purpose of the finished craft. PVA glue can attach flowers to suitable paper surfaces, while specialist resin can enclose them in certain decorative objects. There is no single sealant that works for every pressed-flower project.
| Material | Suitable application | Important limitation |
| PVA craft glue | Attaching flowers to suitable paper surfaces | Use sparingly; excess glue can leave visible marks. |
| Decoupage medium | Decorating compatible surfaces | Check the product and surface instructions first. |
| Clear protective coating | Only projects whose materials are listed as compatible | Check suitability and test on a spare piece. |
| Craft resin | Encasing flowers in molds | Follow product-specific safety and curing instructions. |
How to attach flowers without damaging them
- Arrange the flowers before applying any adhesive.
- Use tweezers to move particularly delicate pieces.
- Test the adhesive on a spare petal if available.
- Apply a small amount using a fine brush where appropriate.
- Let the project dry or cure fully before handling it.
One mistake worth avoiding is applying a heavy coating directly over every flower. Some finishes can darken petals, change their texture or create an unwanted glossy appearance.
For artwork behind glass, you may not need to coat the flowers at all. The frame itself can provide a barrier against everyday handling.
How Long Do Dried Pressed Flowers Last?
Pressed flowers can remain usable for many years, but their appearance does not stay unchanged forever. Their longevity depends on how completely they were dried, how they are stored and how much light and moisture they receive.
The Natural History Museum explains that appropriately prepared pressed plant specimens can last for hundreds of years in collections. That example refers to carefully preserved herbarium specimens, not a promise that an ordinary home decoration will last for the same length of time.
| Factor | What can happen | Practical precaution |
| Direct sunlight | Colors may fade over time. | Choose a shaded display location. |
| Moisture | Flowers may deteriorate or develop mold. | Keep them in a dry environment. |
| Frequent handling | Petals may crack or break. | Use enclosed displays. |
| Poor storage | Flowers may become crushed. | Store them flat and protected. |
| Unsuitable adhesives | Petals may discolor or become damaged. | Test materials before use. |
How to keep pressed flowers looking their best
- Make sure flowers are completely dry before storing or using them.
- Handle them with clean, dry hands or suitable tweezers.
- Keep framed displays away from prolonged direct sunlight.
- Avoid bathrooms and other frequently damp locations.
- Store unused flowers in a protective, dry container.
- Inspect stored collections occasionally for signs of moisture damage.
Important distinction: A pressed flower can remain physically intact while losing some of its original color. Preservation does not guarantee that every flower will retain its fresh appearance indefinitely.
Frequently Asked Questions About Pressed Flowers
Can you use old pressed flowers for crafts?
Yes, provided they are still dry, clean and structurally sound. Check for brittle petals, mold, discoloration and signs of moisture damage before choosing a project. Older flowers with faded colors can still work in collages or vintage-style decorations.
Can pressed flowers be used in wedding keepsakes?
Yes. You can arrange flowers from a wedding bouquet in a floating frame, scrapbook or personalized card. If the flowers have sentimental value, choose a project that minimizes handling and avoid experimenting with expensive or irreplaceable specimens.
Can you reuse broken pressed flower petals?
Absolutely. Small fragments are useful for botanical collages, greeting-card borders, gift tags and decorative patterns. Grouping fragments by color can help create an intentional design.
Are pressed flowers suitable for children’s crafts?
Yes, simple paper-based projects such as bookmarks, greeting cards and collages can be suitable with adult supervision. Keep fragile materials away from very young children, and reserve resin, sharp tools and heat-based equipment for appropriately supervised adults.
Do pressed flowers need to be completely dry before crafting?
Yes. Flowers that retain moisture can deteriorate after being enclosed in a frame, scrapbook or other craft. Check that the petals and thicker parts feel completely dry before attaching or sealing them.
How This Guide Was Made
This guide was prepared for Smart Decor Tips using the four competitor articles supplied for the research stage and two institutional resources: the Natural History Museum’s guidance on pressing flowers and the Royal Horticultural Society’s botanical bookmark activity.
Date checked: November 5, 2026.
The project recommendations were assessed according to material requirements, suitability for beginners, intended use, handling considerations and practical applications in US homes and rental properties.
The article distinguishes between straightforward paper crafts and projects that require specialist materials. It does not claim that every adhesive, coating or preservation technique works with every flower.
The recommendations are editorial guidance, not the results of personal product testing.
Final Thoughts
Pressed flowers offer plenty of creative possibilities beyond traditional framed artwork. You can turn them into greeting cards, bookmarks, resin keepsakes, clay ornaments and personalized gifts, or simply arrange them in a glass frame for a natural decorative display.
Start with a project that suits the flowers you already have. If you are new to botanical crafts, a handmade card or bookmark is a sensible first choice. Save more delicate or meaningful flowers for a project that protects them from unnecessary handling. The goal is to enjoy their natural shapes and colors while choosing materials and displays that help preserve them.

Hi, I’m Shahzad Ahmad welcome to Smart Decore Tips!
I write and research every guide on this site myself, focused on real, practical home decor advice for renters, first-time homeowners, and small-space living. Before publishing anything, I check actual product listings, current prices, and real customer reviews not just what other sites already say.
My goal is simple: help you make smarter, more affordable decor decisions without the guesswork or sales pitch.





One Comment